




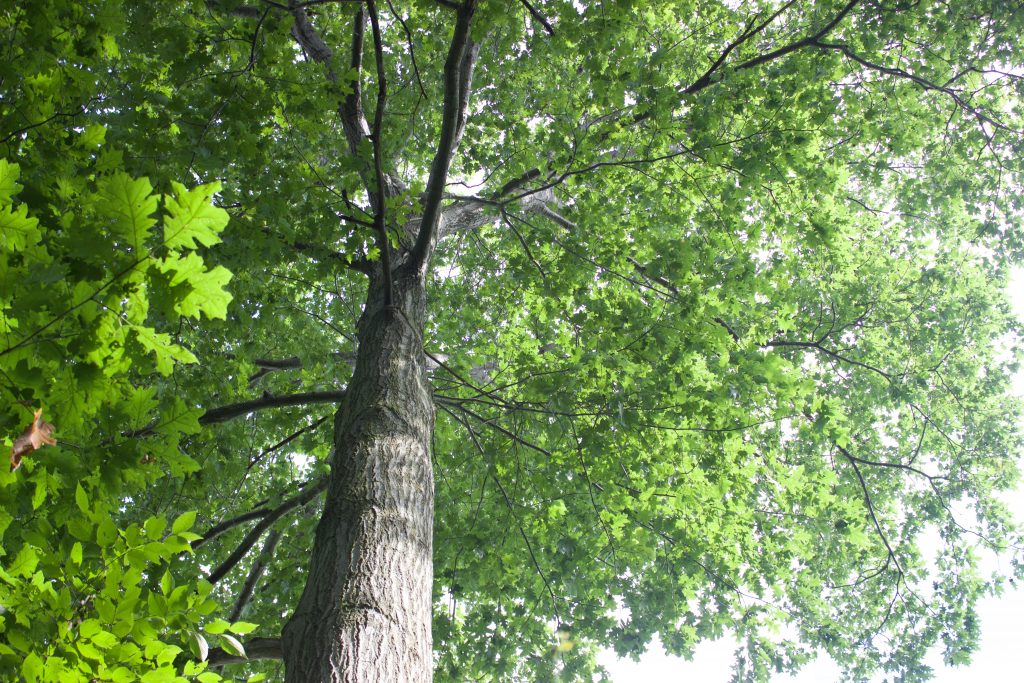
As the autumn landscape reaches its peak and leaves blanket the ground, the fall season offers a prime opportunity to look ahead to next year’s growing season.
For landowners and gardening enthusiasts looking for a rewarding winter project, now is the ideal time to gather acorns and begin the journey of growing your own oak trees.
While most people think of planting trees in the spring, the groundwork for growing a mighty oak actually begins in the crisp days of fall. Starting this project during the late fall and winter months allows you to beat the seasonal blues while cultivating strong saplings for the spring.
Here is a guide to help successfully collect, store and sprout your own oak trees.
Acorn selection and float test
The process begins with finding the right acorns. It is recommended that the acorns are picked from the tree before they hit the ground, though acorns that have already fallen are also appropriate to use.
Once you have selected your acorns, it is time to inspect them; acorns with holes, cracks or soft spots are best left for the wildlife. After the acorns have been inspected, gently remove the cap. When the cap has been removed, it is time to float test the acorns. To float test, simply submerge the acorns into a bowl of water for 24 hours; after 24 hours, discard any floaters. A floating acorn usually indicates internal insect damage, fungus or hollow shells. After removing the sinking acorns from the water, pat them dry with a paper towel.
Hibernation
In nature, oak seeds require a cold winter dormancy period to trigger spring germination. To replicate this cycle indoors, place the acorns into a gallon zip-lock bag with a damp paper towel. It is important not to oversaturate the paper towel with water. Once the acorn and paper towel are in the zip-lock bag, place them in the refrigerator for approximately 45 days. During this hibernation period, be sure to check the paper towel to ensure it stays moist.
Planting and sprouting
Once the hibernation period has ended, the acorns are ready for soil. Simple, recycled containers like plastic water bottles filled with local soil work well. Plant the acorns at the proper depth, place them in a sunny place indoors and keep the soil consistently moist until sprouts emerge and develop into healthy saplings.
Hardening off
Before moving young trees outdoors permanently, they must gradually adapt to the elements. Begin by setting the containers outside for just five minutes a day, slowly increasing the duration over a couple of weeks until they can handle a full 24 hours outside. After the saplings have been hardened off, transplant them into a larger sturdy pot, and secure them in a protected area outdoors.
Transplanting to the landscape
When the final threat of spring frost passes and the soil temperature warms up, your young trees are ready for permanent planting.
Dig a hole deep enough for the roots, ensure the soil is moist and protect the sapling with a tree cage to guard against wildlife. With regular watering during its first season, your autumn-gathered acorns will be well on their way to becoming a permanent part of the landscape.
(Brianna Roe is the agricultural technician for the Guernsey Soil and Water Conservation District.)