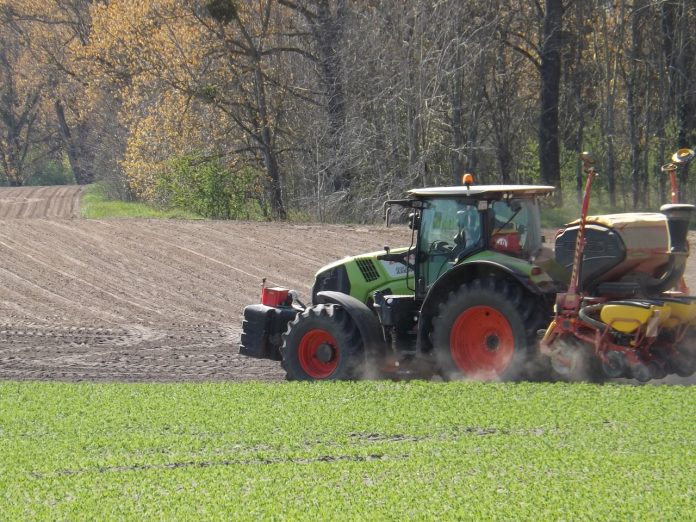
Spring planting season is right around the corner and now is the time, if you haven’t already, to pull out those planters and get them ready for #plant2017!
1Planter units
The first step in planter maintenance is checking the metering units. They have to work well or you’ll get frequent skips, doubles and triples, according to a Penn State Extension article on planter preparation. For optimal performance, take metering units apart and clean with soapy water. Replace cracked covers, broken fingers or worn seed brushes.
Accurate seed depth placement can be compromised if planter units are loose or wobbly.
“We go through the planter units every year to make sure they are set up properly and planting the way they should be,” said Randy Campbell, of Campbell Brothers Farms in Minerva.
Look across the planter to make sure units are the same height all the way across. Loose bolts or additional bushings needed are often the cause.
2Wear and tear
Consult the owner’s manual to determine the minimum diameter necessary before seed opener disks need to be replaced. Always replace disks openers in pairs.
“We question it every year,” said Campbell. “Our openers are barely worn out after a year but we might replace it anyway.”
Worn disc openers can leave a seed trench that is “W” shaped rather than “V” shaped, causing poor seed placement. To test this, stick two business cards between the openers and move them as close together as possible.
For standard blades, the distance between the cards should be 2-3 inches — heavy duty discs may leave a space of 1-1 ½ inches, according to Chip Turner, with Burrus Seed.
If the space is less than desired and blades are still in spec, remove shims and adjust blades inward until the make proper contact.
Seed tubes may also wear, causing the ends to curl inwards. Seed tube guards need to a have a minimum width and fastened correctly or seed tube damage is likely. Seed firmers help press seeds to the desired depth. If worn, they may need to be replaced as well.
Others things to check for wear: coulters, row cleaners and closing wheels. According to Ohio State Extensions C.O.R.N. newsletter, John Fulton suggests, inspecting closing wheels or discs and ensuring bearings are in good shape and that the down force spring is properly set. Replace wheels if worn excessively.
3Alignment
Check alignment of coulters, opener disks, and closing wheels by using a rope, and running from the front coulter to the closing wheels. Firming wheels, seed openers, and coulters should all be in line.
Closing wheels should not run on top of the seed furrow. The insecticide boxes should have no holes or cracks. Tubes should be blown out with air as well as the slot on bottom of meter, according to Penn State Extension.
4Study up
“Every year we go to the books and attend planting clinics to remind us what needs to be replaced,” said Campbell. “We try to hit a planting workshop or training to pick up a tip on something new or something we may have forgotten about.”
Check with your local extension or equipment dealer to see if they are offering any upcoming clinics or training sessions.
Sources: Penn State Extension, Ohio State Extension’s C.O.R.N. Newsletter, and Burrus Seed’s Burrus Buzz.
Next week: Farm and Dairy will provide additional tips in Prepare for planting season, Part 2: Calibration.
(Farm and Dairy is featuring a series of “101” columns throughout the year to help young and beginning farmers master farm living. From finances to management to machinery repair and animal care, farmers do it all.)
More Farming 101 columns:
- 7 tips to improve security on your farm
- 5 tips to protect your farmland
- 3 measures to deal with severe farm debt
- How to buy time to catch up on farm debt
- 6 tips to manage income on the farm
- 5 tips to recognize and deal with farm stress
- How to prepare a livestock birthing kit
- 5 tips for marketing your farm
- How to develop farm mission, vision statements
- 5 tips for setting farm goals
- 2 types of livestock insurance policies
- 6 things you need to know about WFRP plans
- 3 basics of crop insurance
- How does liability insurance work on the farm?
- Why do I need farm insurance?
- How to understand and use Ohio’s CAUV
- How to utilize the Pa. Clean and Green Act
- 9 tips for filing farm taxes
- 8 reasons record keeping for taxes is essential
- 5 tips for post-harvest storage
- 7 tips for family meetings on the farm
- 4 tips for balancing your farm and family
- 4 tips for communicating on the family farm
- 4 tips for firing an employee
- 6 tips for keeping good farm help
- 4 tips for recruiting farm labor
- 5 general farm labor laws
- 4 tips for employing minors
- 4 tips for PTO safety
- 5 things young farmers should know about finances
- The farm balance sheet
- 5 items for your farm’s cash flow statement
- Personal and business records: Keep them separate
- What to include in your farm business plan
- How to approach a lender: Tips for getting a farm loan
- How to use microloans to get your farm started
- Saving for the future: 6 tips for young farmers
- How to create a farm safety kit
- 5 tips for child safety on the farm
- 4 tips for transporting livestock
- 5 ways to better understand tractor stability
- 6 farm equipment hacks


